You can access the filters from every page in Audience to select dimensions and content criteria that allow you to narrow your focus to only content sessions that match certain attributes. For example, you can perform analysis based on sessions in a target area and a specific genre of content. The selected filter settings are carried across all the pages in Audience.
You can also analyze session data based on the concept of 'First Stream'. First Stream refers to the first video session streamed by a new viewer. When you apply a first stream attribute to your analysis, the resultant data consists of all the information related to how the new viewer consumed the content, including:
When: date / day / day-part
What: series / episode / genre / category
How: screen type / device type
Where: country / state / DMA
Who: viewer ID
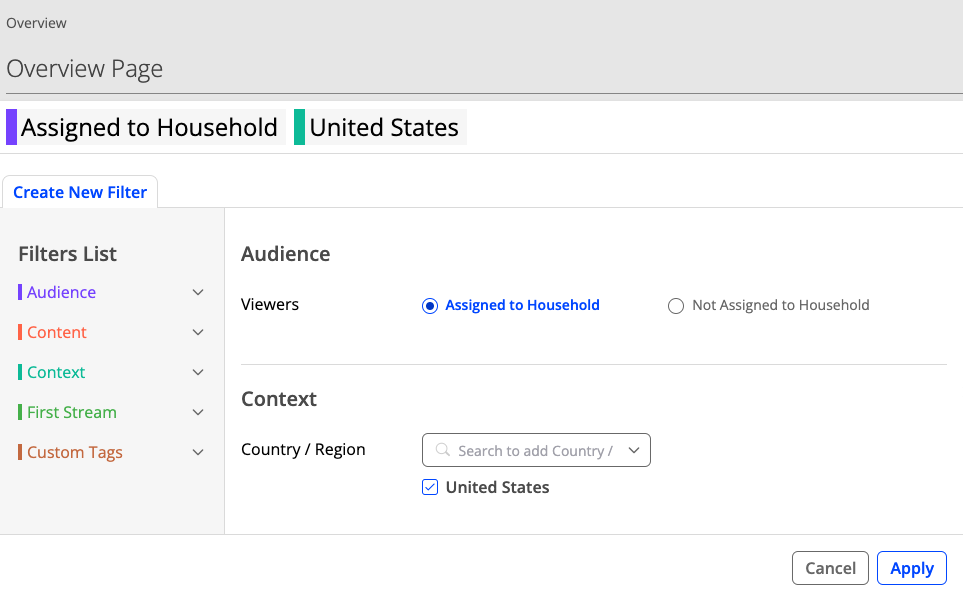
Color-coded Filter sections contain related settings for easy access.
|
Filter |
Settings |
Notes |
|---|---|---|
|
Audience |
Segments |
|
|
Viewers |
If the unique ID for a Audience account is configured with Stream ID, the attributes for this dimension are Assigned to Household and Not Assigned to Household. If the unique ID for a Audience account is configured with Subscriber ID, the attributes for this dimension are Known Viewers and Unknown Viewers. |
|
|
Gender |
The filters (Gender to Parental Status) are available if you subscribe to the Demographics package. For more information, contact a Conviva representative. |
|
|
Age Range |
||
|
Education Level |
||
|
Marital Status |
||
|
Household Income |
||
|
Homeowner |
||
|
Household Size |
||
|
Parental Status |
||
|
Content |
Series |
|
|
Season |
||
|
Episode |
||
|
Episode Number |
||
|
Channel |
||
|
Brand |
||
|
Affiliate |
||
|
Content Type |
||
|
Category |
||
|
Genre |
||
| Ads | Content with ads or content without ads. Applies to content sessions only and does not take into account ad sessions without an associated content session, for example when a viewer exits a pre-roll ad before any content is played. | |
|
Context |
Country / Region |
|
|
State |
||
|
DMA |
||
|
Day of Week |
||
|
Day Part |
||
|
Screen Type |
||
|
Device Type |
||
|
Session Duration |
You can filter play sessions by minutes and seconds. | |
| First Stream | First Watched |
This filter contains all the dimensions that are listed in the Content and Custom Tags filters and can be customized based on your analytical requirements. This filter is available on all the pages of Audience except the Social + Streaming Dashboard. For more information, contact a Conviva representative. |
|
Custom Tags |
The custom tags are specifically configured for your c3 account. For more information, contact a Conviva representative. |
Working with Filter
Dashboard filter consists of Simple and Advanced modes.
Simple mode: This mode contains only one rule - Is Equal To. This filter is ideal for straightforward scenarios where you want the data to display the sum of all the selected attributes of the various filters.
Advanced mode: This mode contains four rules - Is Equal To, Contains, Begins With, and Is Not Equal To. This filter is ideal for scenarios that require multiple rules within the same filter attribute.
To access the filter, on any page, click any of the selected filter attributes.**The filter is displayed.
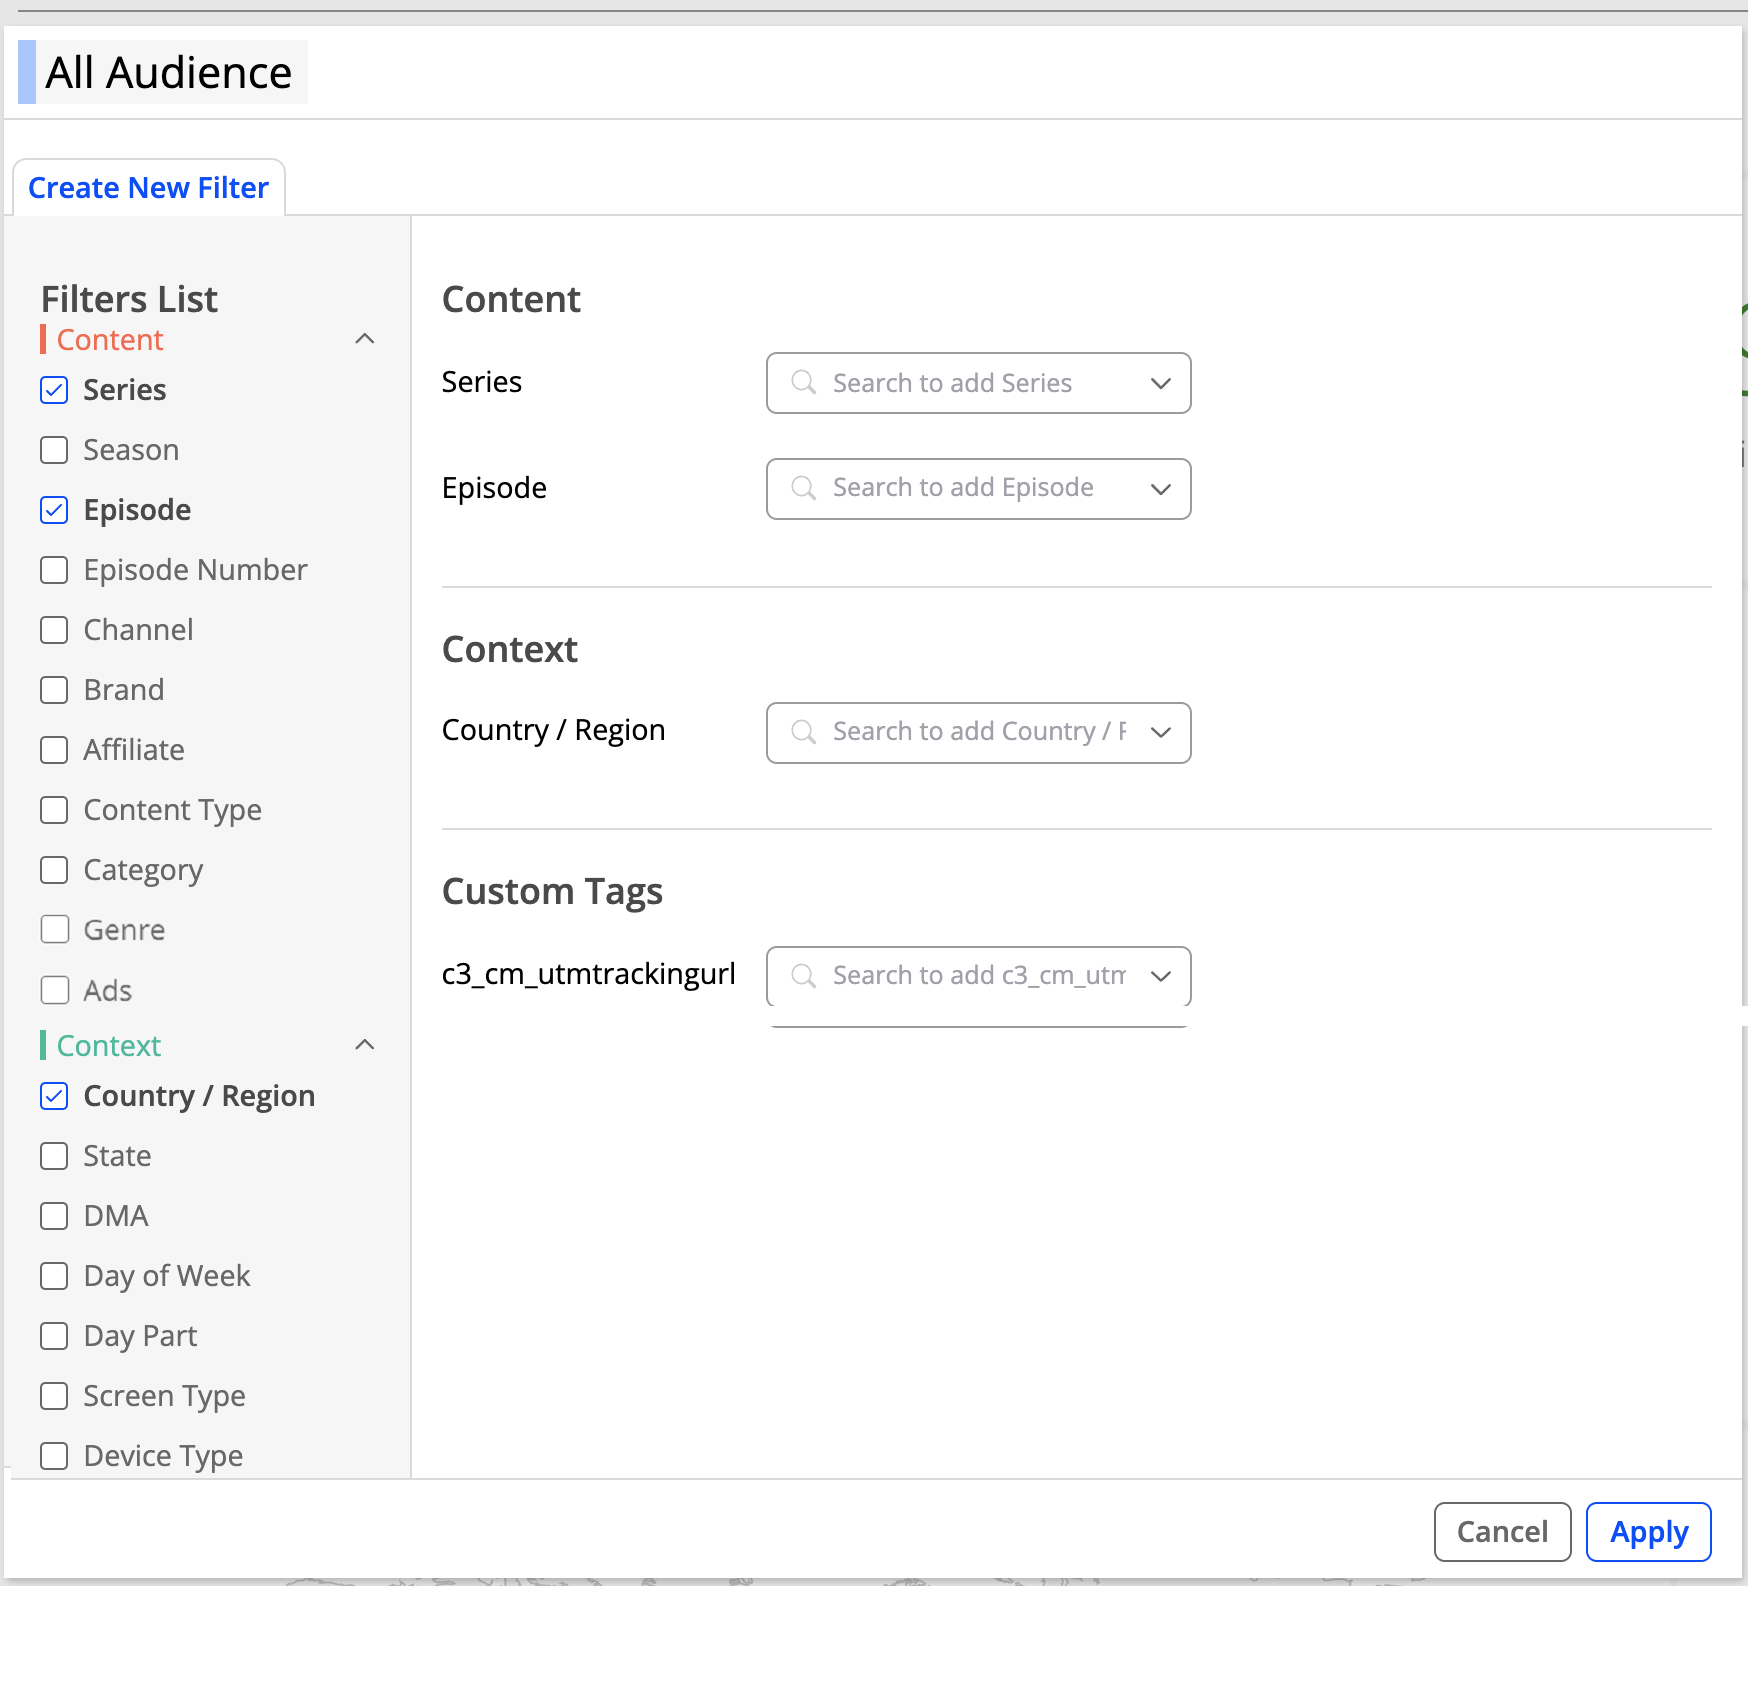
To add a filter attribute, select it from the Filters List on the left-pane. The selected attributes are displayed on the right-pane.
- When you filter by Viewers, the attributes are displayed based on the following parameter:
- If the unique ID for an account is configured with Stream ID, the attributes are:
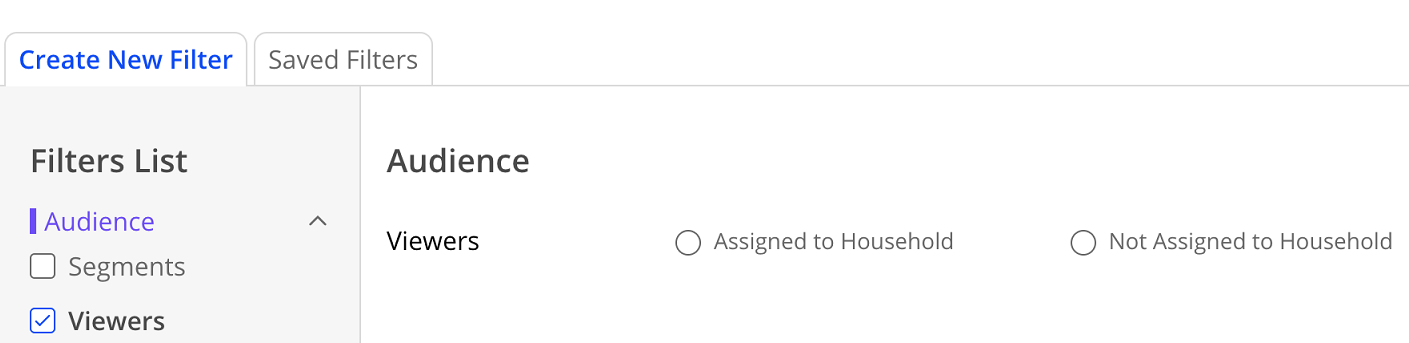
- If the unique ID for an account is configured with Subscriber ID, the attributes are:
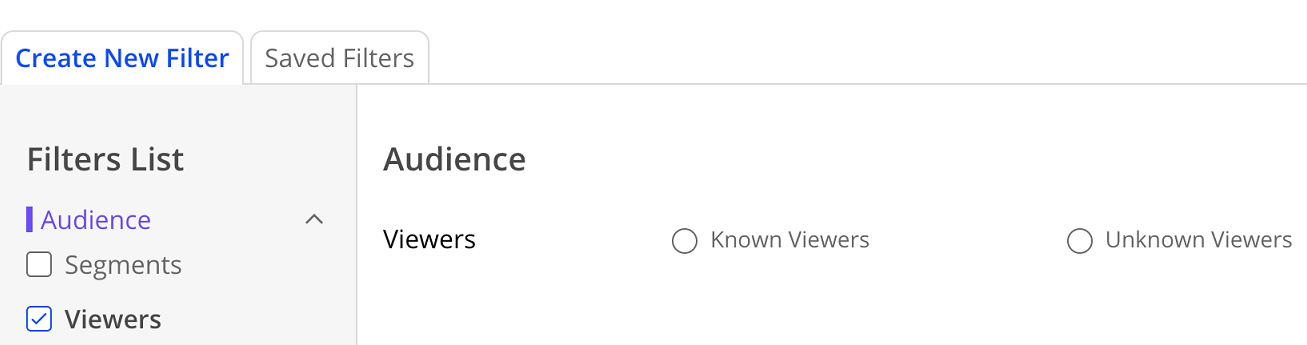
- To add values to the selected filter attributes:
-
Click in the field. The values are auto-populated and displayed in a list. You can choose as many values as you like, and the default rule that connects the values is **Is Equal To**. For example, If you choose attributes A, B, and C for **Series** filter, then Series is equal to A or B or C.**
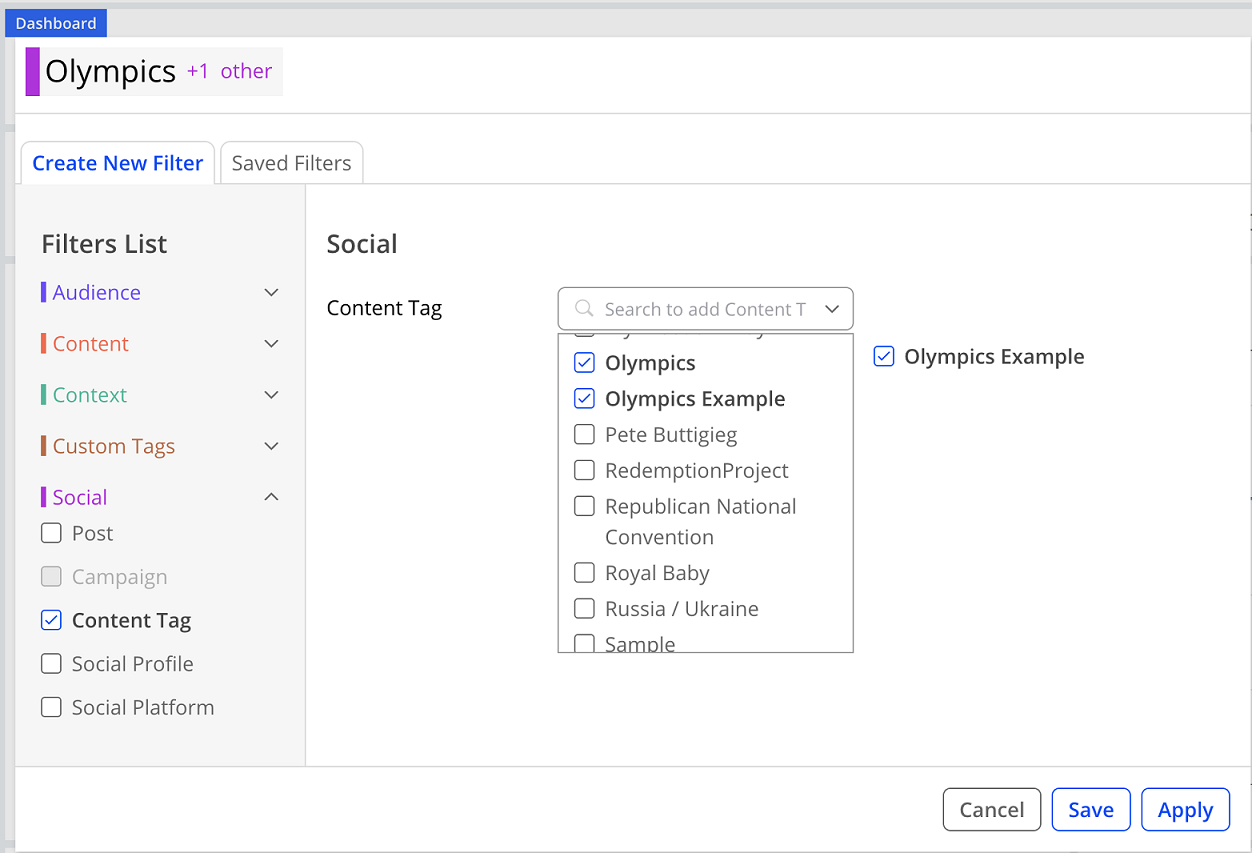
- To remove a filter attribute from the right-pane, hover over the attribute, click the kebab icon that appears on the right of the attribute, and click Remove.**
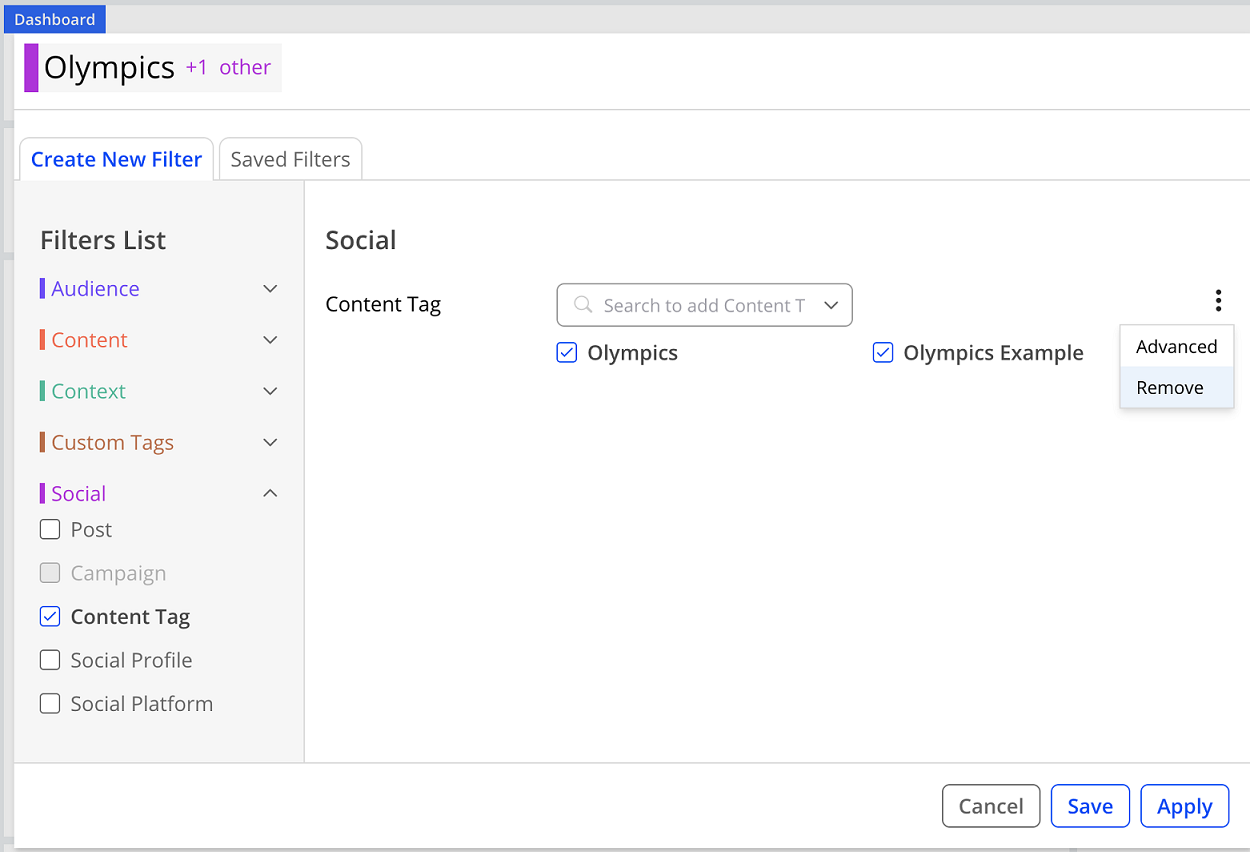
- To remove a filter attribute from the right-pane, hover over the attribute, click the kebab icon that appears on the right of the attribute, and click Remove.**
-
To convert a filter from simple mode to advanced mode, select a filter attribute. The Is Equal To rule is applied by default. Click the kebab icon that appears on the right of the attribute and click Advanced. For reference, see the screen shot in step 4 (b).
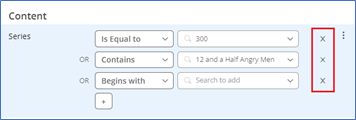
You can convert a filter from a simple mode to advanced mode seamlessly, but you cannot switch back to simple mode if any other condition apart from Is Equal To is used in the advanced mode.To remove an attribute from an advanced mode, click the X which is displayed to the right of the value field.